panchmukhi hanuman kavach pdf
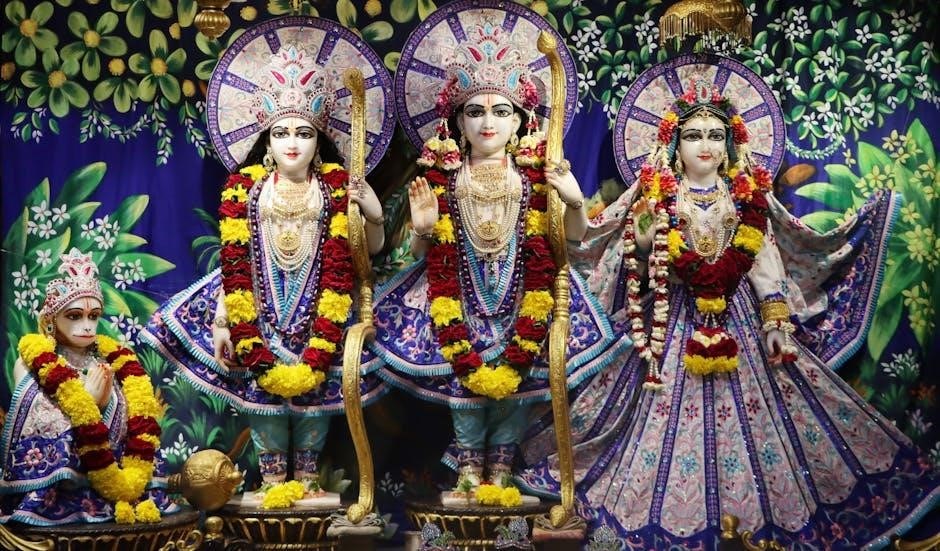
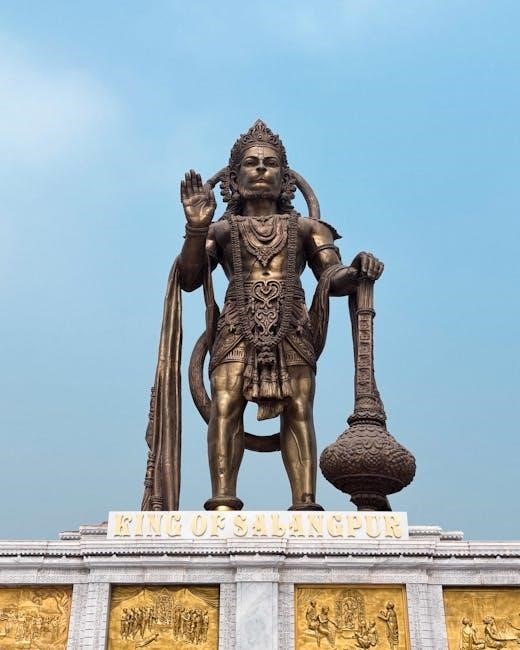
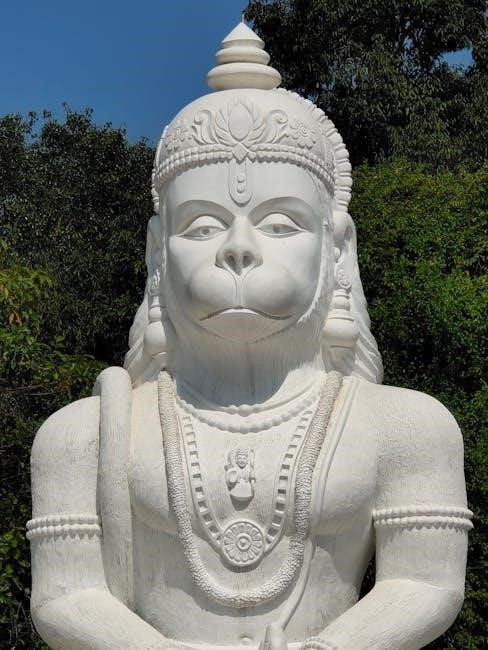
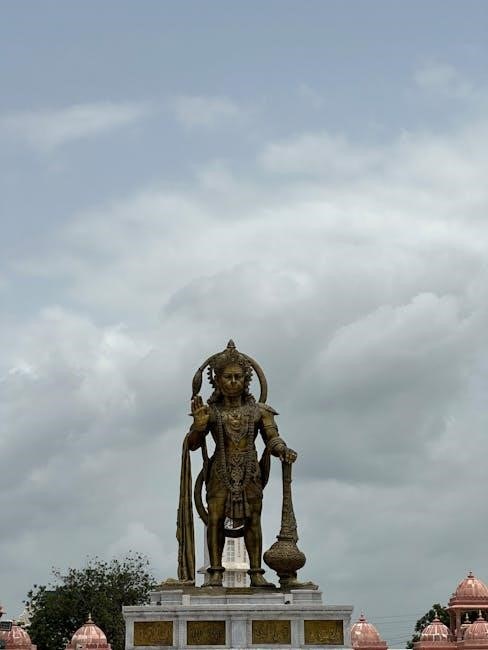
The Panchmukhi Hanuman Kavach is an ancient protective prayer dedicated to Lord Hanuman, featuring five divine faces, symbolizing strength and divine protection. This sacred Sanskrit hymn is widely revered for its ability to ward off negative energies and attract positive vibrations, ensuring safety and spiritual growth. The Kavach, accessible in PDF format, is a popular choice for daily recitation, helping devotees enhance their well-being and connect with Hanuman’s powerful energy.
Overview of the Kavach and Its Significance
The Panchmukhi Hanuman Kavach is a sacred protective prayer featuring five divine faces of Lord Hanuman, symbolizing strength, courage, and divine protection. Each face represents a unique aspect of his power: monkey, lion, horse, human, and half-man. This Kavach is revered for its ability to shield against negative energies, evil spirits, and misfortunes. It is believed to attract positive vibrations, fostering spiritual growth and well-being. Available in PDF format, it is widely recited by devotees for its profound benefits, making it a powerful tool for safeguarding one’s life and enhancing spiritual practices.
Importance of the Five Faces of Hanuman
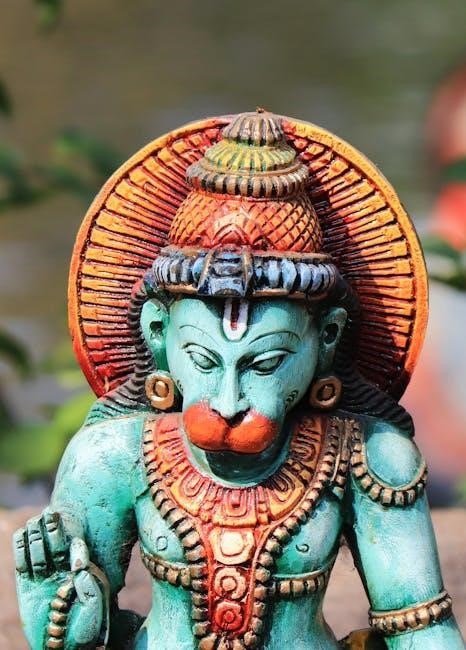
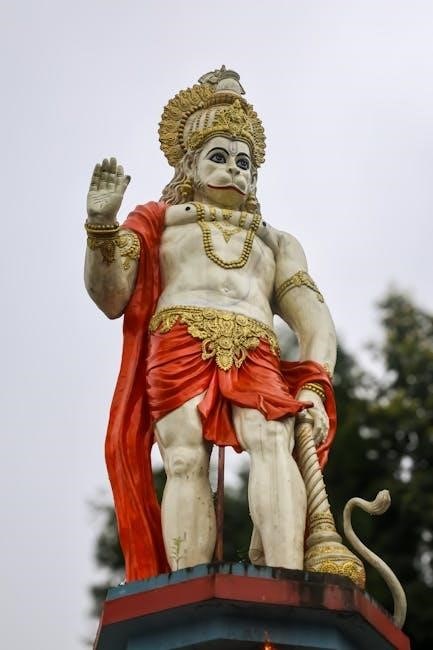
The five faces of Hanuman in the Panchmukhi Hanuman Kavach symbolize his multifaceted powers and divine attributes. Each face represents a unique energy: the monkey face embodies devotion and strength, the lion face signifies courage and fearlessness, the horse face stands for wisdom and knowledge, the human face represents human-like intellect, and the Garuda face symbolizes healing and protection. Together, these faces amplify the Kavach’s potency, offering comprehensive protection against negative forces and fostering spiritual balance. This divine representation makes the Kavach a powerful tool for seekers of divine grace and protection.
Origin and Composition of the Panchmukhi Hanuman Kavach
The Panchmukhi Hanuman Kavach, composed by Lord Garuda, is a sacred Sanskrit hymn. Its structure includes powerful verses and mantras designed for protection and attracting positive energy.

Composer of the Kavach and Its Historical Background
The Panchmukhi Hanuman Kavach is attributed to Lord Garuda, a revered figure in Hindu mythology. This sacred hymn was composed to invoke Lord Hanuman’s protective energies. Historically, it has been a cornerstone in tantric and devotional practices, offering a shield against negative forces. The Kavach’s verses and mantras are meticulously structured to channel divine power, ensuring safety and spiritual elevation. Its origins trace back to ancient Sanskrit texts, emphasizing its timeless significance in Hindu tradition.
Structure of the Kavach: Verses and Mantras
The Panchmukhi Hanuman Kavach is a meticulously structured Sanskrit prayer, comprising specific verses and mantras designed to invoke the divine energy of Hanuman’s five faces. Each verse is crafted to align with one of the five forms, symbolizing strength, courage, and protection. The Kavach includes chants that glorify Hanuman’s prowess and seek his blessings for safety and prosperity. Its rhythmic composition ensures adherence to traditional Vedic recitation practices, making it accessible for daily rituals and spiritual growth.
Benefits of Reciting the Panchmukhi Hanuman Kavach
Reciting the Panchmukhi Hanuman Kavach offers protection from negative energies, attracts positive vibrations, and fosters spiritual growth, ensuring overall well-being and divine blessings.
Protection from Negative Energies and Evil Spirits
The Panchmukhi Hanuman Kavach is a powerful shield against negative energies, evil spirits, and black magic. Its five divine faces—representing Hanuman’s fierce forms—offer comprehensive protection. By reciting this Kavach, devotees create an impenetrable aura, warding off malevolent forces and psychic disturbances. It is especially effective in safeguarding against evil eye, curses, and dark energies. Regular recitation strengthens inner resilience, ensuring peace and safety in daily life. This sacred prayer is a trusted tool for spiritual defense and maintaining harmony in challenging times.
Attracting Positive Energy and Spiritual Growth
The Panchmukhi Hanuman Kavach is not only a shield against negativity but also a powerful tool for attracting positive energy and fostering spiritual growth. By reciting this sacred hymn, devotees invoke Hanuman’s divine grace, which harmonizes their surroundings and uplifts their consciousness. The Kavach’s verses resonate with vibrations that attract prosperity, peace, and spiritual enlightenment. Regular recitation enhances meditation, self-reflection, and inner strength, helping individuals progress on their spiritual journey; Its accessibility in PDF format makes it easier for seekers to embrace its transformative power and experience profound spiritual benefits.
How to Use the Panchmukhi Hanuman Kavach
The Panchmukhi Hanuman Kavach can be used by reciting its verses daily with devotion. It is recommended to perform rituals with purity and concentration for optimal results.
Guidelines for Daily Recitation
For effective recitation of the Panchmukhi Hanuman Kavach, one should maintain purity of mind and body. Ideally, recite the verses in the morning after bathing; Chant the Kavach three times daily for maximum benefits. Ensure concentration and devotion while reciting to harness its full power. Offer prayers and prasad to Lord Hanuman before starting. Regular recitation strengthens spiritual growth and protection. The PDF format makes it easy to follow and recite daily, promoting discipline and consistency in practice. This ritual enhances the Kavach’s ability to shield against negativity and attract positive energy, fostering overall well-being and peace. Reciting on specific days like Hanuman Jayanti further amplifies its benefits, making it a powerful spiritual practice for devotees seeking protection and divine grace. By adhering to these guidelines, one can fully experience the transformative power of the Panchmukhi Hanuman Kavach.
Rituals and Procedures for Maximum Effectiveness
To maximize the effectiveness of the Panchmukhi Hanuman Kavach, specific rituals must be observed. Begin by lighting a lamp and incense, creating a sacred atmosphere. Recite the Kavach three times daily, ideally after bathing and wearing clean attire.Maintain focus and devotion during recitation to harness its power. Offer flowers, fruits, or tilak to Lord Hanuman’s image. Cleansing the space with Vedic mantras before recitation enhances its potency. Additionally, performing aarti after recitation and offering prasad amplifies the divine connection. Adhering to these rituals ensures protection, peace, and spiritual growth. Regular practice strengthens its benefits, making it a powerful tool for well-being. Reciting for 49 days is highly recommended for profound results.
Downloading the Panchmukhi Hanuman Kavach PDF
The Panchmukhi Hanuman Kavach PDF is easily accessible online, available for free download. It is offered in multiple formats, including PDF, ODT, and TXT, ensuring convenience for all users. The document contains the prayer, its meaning, and benefits, making it a comprehensive resource for devotees seeking protection and spiritual growth. Downloading the PDF is a quick and straightforward process, allowing individuals to recite and benefit from its divine power anytime, anywhere.
Availability of the PDF Online
The Panchmukhi Hanuman Kavach PDF is widely available online for free download. It can be accessed in multiple formats, including PDF, ODT, and TXT, catering to different user preferences. Various websites offer this sacred document, ensuring easy accessibility to devotees worldwide. The PDF is comprehensive, containing the prayer, its meaning, and benefits, making it a valuable resource for those seeking protection and spiritual growth. Its availability online has made it simpler for individuals to obtain and use the Kavach for daily recitation and rituals.
Steps to Download and Use the PDF File
To download the Panchmukhi Hanuman Kavach PDF, visit a reliable spiritual or religious website. Search for “Panchmukhi Hanuman Kavach PDF” and select a trusted source. Once downloaded, print the document for ease of use. Recite the Kavach daily, ideally in the morning, to maximize its benefits. For best results, chant the mantras for 49 consecutive days. On special occasions like Hanuman Jayanti, recitation is highly recommended for enhanced protection and blessings. Seek guidance from a pundit if needed for proper pronunciation and rituals.
The Significance of Panchmukhi Hanuman Kavach on Specific Days
Reciting the Panchmukhi Hanuman Kavach on special days like Hanuman Jayanti amplifies its protective powers, offering divine blessings and enhanced spiritual benefits to devotees seeking strength and prosperity.
Importance of Reciting the Kavach on Hanuman Jayanti
Reciting the Panchmukhi Hanuman Kavach on Hanuman Jayanti holds immense significance, as it aligns with the divine energy of Lord Hanuman’s birthday. This sacred day enhances the Kavach’s protective powers, offering devotees heightened blessings and spiritual strength. By chanting the Kavach on this auspicious occasion, one can ward off negative influences, attract positive vibrations, and deepen their connection with Hanuman’s divine grace. It is believed to bring prosperity, courage, and inner peace, making it a powerful ritual for seekers of protection and enlightenment.
Enhanced Benefits During Special Occasions
Reciting the Panchmukhi Hanuman Kavach during special occasions like festivals, eclipses, or full moon days amplifies its benefits. These sacred moments heighten the Kavach’s protective and purifying effects, offering enhanced spiritual growth and divine grace. Devotees often experience intensified positive energy, increased courage, and a stronger shield against negative influences. Rituals performed with the Kavach during these times are believed to deepen its impact, providing profound peace and prosperity. This practice is deeply rooted in tradition and is highly recommended for those seeking maximum spiritual and protective benefits.
The Panchmukhi Hanuman Kavach PDF is a potent shield of protection and spiritual growth, offering divine blessings and safeguarding against negativity. Embrace it for lasting well-being.
Final Remarks on the Power of the Kavach
The Panchmukhi Hanuman Kavach embodies immense spiritual power, offering protection from negative forces and fostering inner peace. Composed by Lord Garuda, this sacred hymn is a shield against evil spirits, black magic, and misfortunes. Its five faces symbolize strength, courage, and divine grace, making it a powerful tool for spiritual growth. By reciting the Kavach with faith, devotees can attract positive energy and experience profound well-being. Its availability in PDF format ensures easy access, allowing believers worldwide to embrace its blessings and live a protected, harmonious life.
Encouragement to Embrace the Kavach for Well-being
Embracing the Panchmukhi Hanuman Kavach is a powerful way to safeguard your life and enhance spiritual well-being. This sacred text, available in PDF, offers protection, positive energy, and inner peace. By reciting it daily, you can ward off negativity, strengthen your faith, and connect with Lord Hanuman’s divine grace. Its accessibility ensures that everyone can benefit from its miraculous powers. Make it a part of your daily routine to experience its transformative effects and lead a harmonious, protected life filled with prosperity and spiritual growth.