quadra fire wood stove manual
Welcome to the Quadra-Fire Wood Stove Manual, your comprehensive guide for safe installation, operation, and maintenance. This manual ensures optimal performance and longevity of your stove.
Importance of Reading the Manual
Reading the Quadra-Fire wood stove manual is essential for ensuring safe and efficient operation. It provides critical safety precautions, installation guidelines, and maintenance tips to prevent hazards and maintain warranty coverage. The manual outlines proper assembly, fuel usage, and troubleshooting steps to avoid overfiring and damage. By following the instructions, you can optimize performance, reduce risks, and extend the stove’s lifespan. Always refer to the manual before installation or operation to ensure compliance with manufacturer recommendations and safety standards. Failure to adhere to guidelines may void warranties or pose serious safety risks. Retain the manual for future reference and technical support needs.
Overview of Quadra-Fire Wood Stoves
Quadra-Fire wood stoves are renowned for their advanced combustion technology and efficient design. Models like the 3100 Millennium and 4300 series offer superior performance, combining reliability with eco-friendly features. These stoves are built with durable materials, ensuring long-lasting heat output and minimal maintenance. With features like Automatic Combustion Control (ACC), they optimize fuel efficiency and reduce emissions. Available in various styles, including freestanding and insert models, Quadra-Fire stoves cater to diverse home setups. Their innovative engineering ensures consistent heat delivery, making them a top choice for homeowners seeking a reliable and sustainable heating solution. Each model is designed to provide years of dependable service with proper care.

Safety Precautions and Warnings
Always follow installation and operation guidelines to avoid hazards. Ensure proper assembly, avoid flammable liquids, and keep combustible materials away. Never touch hot surfaces or operate the stove without all components securely in place.
General Safety Guidelines
Always read and follow the Quadra-Fire wood stove manual carefully. Never use flammable liquids or burn trash. Keep combustible materials at least 36 inches away. Avoid overfiring, as it can damage the stove or cause safety hazards. Ensure proper installation, including venting systems and a fireproof base. Never touch hot surfaces, glass, or metal components without protective gloves. Maintain a safe distance from children and pets. Regularly inspect the stove and chimney for damage or blockages. Store fuel and ashes in a safe, cool location. Follow local fire safety regulations and ensure a fire extinguisher is nearby. Proper maintenance is essential for safe and efficient operation.
Specific Warnings for Quadra-Fire Models
Do not operate your Quadra-Fire wood stove before fully assembling all components, as this may void the warranty and pose serious safety risks. Burning without a properly installed pedestal or leg kit is prohibited. Never use flammable liquids or burn trash, as this can cause overfiring. Avoid using chimney connector pipes as a substitute for a chimney, as they cannot withstand extreme temperatures. Keep the stove and surrounding areas clear of combustible materials. Overfiring may damage the appliance and create hazards. Always follow the recommended fuel types and burning practices outlined in the manual. Regularly inspect the stove and chimney for damage or blockages to ensure safe operation;

Installation Requirements
Ensure proper ventilation, clearance from combustible materials, and correct chimney installation. Follow local building codes and manufacturer specifications for safe and efficient stove operation.
Pre-Installation Checklist
Before installing your Quadra-Fire wood stove, ensure the following steps are completed; Verify the model-specific installation requirements and local building codes. Ensure proper clearance from combustible materials, as outlined in the manual. Inspect the chimney and flue system for damage or obstructions; Prepare the installation site by leveling the floor and ensuring it is free from flammable materials. Review the manufacturer’s instructions for venting and electrical connections. Gather all necessary tools and components, including the pedestal or leg kit, to avoid safety hazards. Finally, consult a certified professional if unsure about any aspect of the installation process to ensure compliance and safety.
Step-by-Step Installation Guide
Begin by assembling the stove components, ensuring all parts are securely attached. Place the stove on a heat-resistant surface, maintaining the required clearance from walls and flammable materials. Connect the chimney or venting system according to the manual’s specifications. Install the blower, if equipped, following the provided instructions. Ensure all electrical connections are secure and meet local codes. Test the stove by lighting a small fire to check for proper ventilation and draft. Once verified, proceed to install any additional features like decorative surrounds. Always follow the manufacturer’s guidelines to ensure a safe and efficient installation. If unsure, consult a certified professional to avoid potential hazards.
Operating Instructions
Operate your Quadra-Fire wood stove by following proper procedures for starting fires, adjusting airflow, and using optional blowers to ensure efficient and safe heating performance.
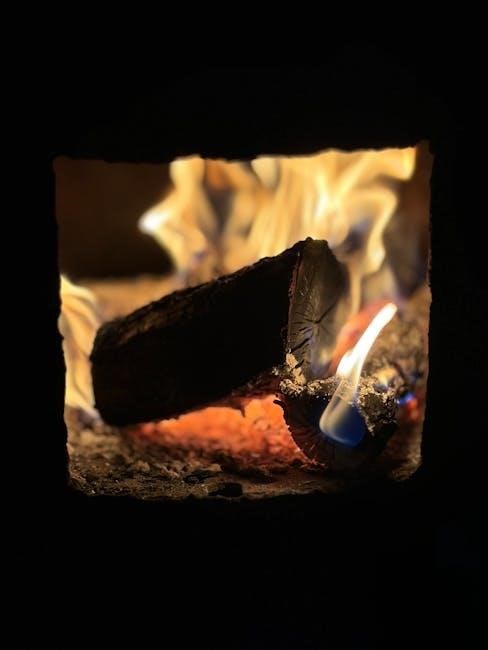
Starting a Fire: Best Practices
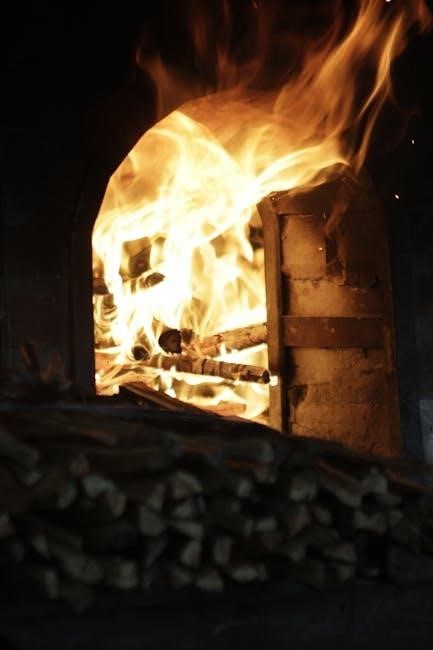
To start a fire in your Quadra-Fire wood stove, begin with dry, seasoned hardwood placed in a teepee structure. Ensure proper airflow by opening the combustion air control fully. Light the fire with kindling and small twigs, avoiding flammable liquids. Once the fire is established, adjust the airflow to maintain a steady burn. Keep the stove hot during initial startup to prevent creosote buildup. Always monitor the fire and ensure it burns efficiently. For optimal performance, follow the manufacturer’s guidelines and avoid overloading the stove with too much wood. This ensures safety, efficiency, and longevity of your appliance.
Using the Blower: Guidelines and Tips
For models equipped with a blower, ensure it is used correctly for optimal heat distribution. Turn the blower off during the initial startup until the stove is hot and a solid coal bed is established. Once the fire is burning steadily, you can turn the blower on at a low setting to circulate warm air. Avoid running the blower at high speeds during the initial heating phase, as this may disrupt combustion. Regularly clean the blower and its ducts to maintain efficiency. Refer to your specific model’s instructions for speed adjustments and maintenance tips. Proper blower use enhances heating performance and extends the stove’s lifespan.

Maintenance and Upkeep
Regularly clean and inspect your Quadra-Fire wood stove to ensure efficiency and safety. Check for wear and tear, clean combustion areas, and maintain proper ventilation. Consult the manual for detailed instructions.
Routine Cleaning and Inspection
Regular cleaning and inspection are crucial for maintaining your Quadra-Fire wood stove’s performance and safety. Start by removing ashes and soot from the firebox, using appropriate tools to prevent dust dispersion; Inspect the glass for residue and clean it with a recommended glass cleaner to ensure clear visibility. Check the chimney and flue for blockages or damage, ensuring proper ventilation. Examine the gaskets and seals for wear, replacing them if necessary to maintain a tight seal. Finally, inspect the exterior for any signs of rust or damage, addressing issues promptly to prevent deterioration. Always refer to the manual for specific guidance.
Deep Cleaning and Annual Maintenance
Deep cleaning and annual maintenance are essential for your Quadra-Fire wood stove’s efficiency and longevity. Begin by thoroughly cleaning the firebox, removing all ash and creosote buildup. Inspect and clean the combustion chamber, ensuring the baffles and heat exchanger are free from debris. Clean the chimney and flue system to remove soot and creosote, which can cause hazards. Replace the gaskets and door seals if worn. Check the blower and fan for proper function, cleaning or replacing them as needed. Finally, inspect the stove’s exterior and paint any areas showing signs of rust. Always perform these tasks before the heating season to ensure optimal performance and safety.
Troubleshooting Common Issues
Address common issues like poor combustion, insufficient heat, or blower malfunction by checking airflow, ensuring proper installation, and cleaning components regularly for optimal performance and safety.
Identifying and Solving Operation Problems
Common issues with Quadra-Fire wood stoves include poor combustion, insufficient heat, or blower malfunction. Check airflow restrictions, ensure proper fuel quality, and clean components regularly. Overfiring can damage the stove, so avoid excessive wood or flammable liquids. If the blower fails, verify installation and electrical connections. Insufficient heat may result from improper venting or blocked chimneys. Regularly inspect and maintain the stove to prevent operational problems. Always refer to the manual for specific troubleshooting steps and safety guidelines to ensure reliable performance and safety. Addressing issues promptly helps maintain efficiency and longevity of your Quadra-Fire wood stove.
Addressing Warranty and Repair Needs
For warranty and repair concerns, contact Quadra-Fire’s authorized dealers or visit their official website for assistance. Ensure all repairs use genuine replacement parts to maintain warranty validity. Improper repairs or unauthorized modifications can void your warranty. Regular maintenance, as outlined in the manual, helps prevent issues. If problems arise, refer to the troubleshooting section first. Keep your manual handy for specific repair guidelines and warranty details. Always follow manufacturer recommendations to ensure safety and optimal performance of your Quadra-Fire wood stove. Proper care and timely repairs extend the lifespan and efficiency of your appliance.
Additional Resources
Access PDF manuals, replacement parts, and troubleshooting guides on Quadra-Fire’s official website. Utilize FAQs and customer support for further assistance with your wood stove needs.
Downloading PDF Manuals for Specific Models
Quadra-Fire wood stove manuals are available for download in PDF format directly from the official website. Simply visit the Quadra-Fire website and navigate to the “Resources” or “Support” section. From there, you can search for your specific model, such as the 3100 Millennium or 4300 ACC, and download the corresponding manual. These PDF guides include detailed installation, operation, and maintenance instructions tailored to your stove model. Additionally, you can find troubleshooting tips and parts lists to help maintain your appliance. Ensure you have the correct model number for accurate results. This resource is essential for owners seeking precise guidance for their Quadra-Fire wood stove.
Replacement Parts and Accessories
Quadra-Fire offers a wide range of replacement parts and accessories for their wood stoves, ensuring longevity and optimal performance. From blower kits to ignition systems, gaskets, and grates, these components are designed to maintain efficiency and safety. Visit the official Quadra-Fire website or authorized dealers to find model-specific parts. The website provides a convenient search feature to locate exact replacements, preventing compatibility issues. Authentic Quadra-Fire parts guarantee durability and adherence to safety standards. Additionally, accessories like fire screens and hearth pads enhance functionality and aesthetics. For troubleshooting or upgrades, consult the Quadra-Fire PDF manuals for guidance on installation and compatibility.