chevrolet 4 speed manual transmission
The Chevrolet 4-speed manual transmission is a durable and popular gearbox known for its strength and versatility in both trucks and performance-oriented cars․
Overview of the Chevrolet 4-Speed Manual Transmission
The Chevrolet 4-speed manual transmission, notably the SM465, is a heavy-duty gearbox produced from 1968 to 1991․ Designed for light and medium-duty trucks, it features a top-loading design with a cast-iron case for added strength․ The SM465 is fully synchronized, offering a standard H shift pattern with reverse located to the passenger side and downwards․ Known for its durability and versatility, this transmission was widely used in Chevrolet trucks, SUVs, and performance-oriented cars like the Corvette and Camaro․ Its strength, low maintenance, and wide availability make it a popular choice among enthusiasts and restorers․

History and Evolution of the Chevrolet 4-Speed Manual Transmission
The Chevrolet 4-speed manual transmission evolved over decades, with the Muncie 4-speed being a landmark․ Introduced in the mid-20th century, it became iconic in GM trucks and performance cars․
Early Developments and Implementation in Chevrolet Vehicles
The Chevrolet 4-speed manual transmission first appeared in the 1960s, with the SM465 being introduced in 1968 for trucks and SUVs; Known for its durability, it featured a cast-iron case and a granny low gear, making it ideal for heavy-duty applications․ The Muncie 4-speed, including the M20, M21, and M22 variants, became synonymous with performance, equipping iconic models like the Corvette and Camaro․ These transmissions were engineered to deliver precise control and robust performance, solidifying their reputation in Chevrolet’s lineup․
The Role of the Muncie 4-Speed Transmission in Chevrolet’s History
The Muncie 4-speed transmission played a pivotal role in Chevrolet’s history, becoming iconic for its durability and performance․ Produced in Muncie, Indiana, it was designed to replace the earlier SM420, offering enhanced synchronization and versatility․ The M20, M21, and M22 variants catered to different needs, from everyday driving to high-performance racing․ Its widespread use in models like the Corvette and Camaro cemented its legacy, making it a sought-after component in classic Chevrolet restorations and a symbol of the golden era of manual transmissions in American automotive history․
Technical Specifications and Features
The Chevrolet 4-speed manual transmission, like the SM465, features a heavy-duty design with a top-loading, cast-iron case and fully synchronized gears for smooth shifting․
Key Components and Design of the Chevrolet 4-Speed Manual Transmission
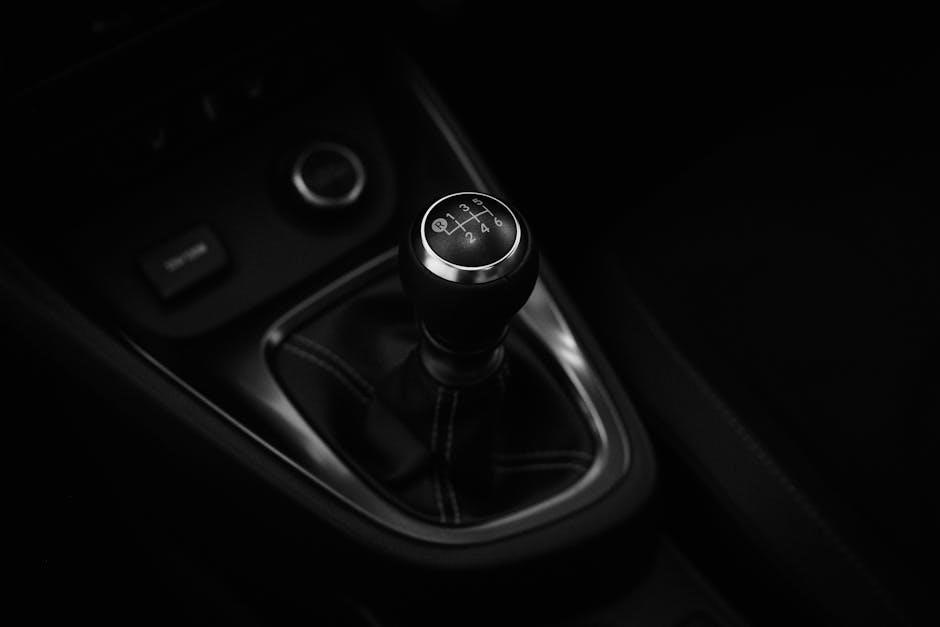
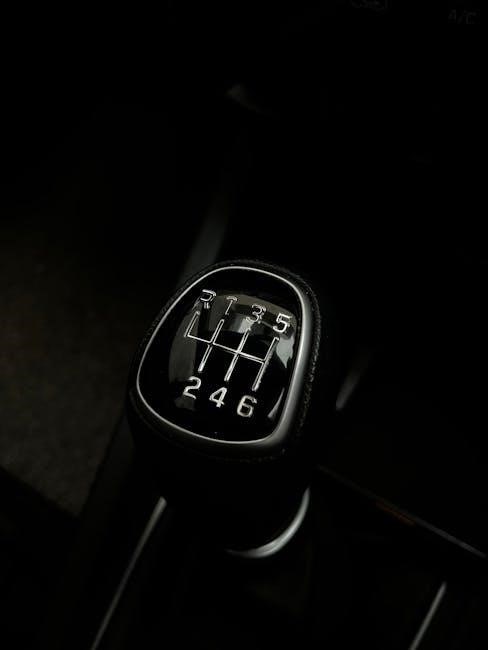
The Chevrolet 4-speed manual transmission features a robust design with a cast-iron case, top-loading mechanism, and fully synchronized gears for smooth operation․ The SM465 model, for instance, includes a 12-inch case with extra ribbing for added strength, making it suitable for heavy-duty applications․ Its gearsets are designed to handle high torque, ensuring reliability in both on-road and off-road conditions․ The transmission also incorporates a standard H shift pattern with reverse gear located to the passenger side and downward, enhancing driver ease․
Key components include a durable gear cluster, synchromesh rings, and a sturdy input shaft․ The Muncie variants, such as the M20, M21, and M22, offer varying gear ratios to cater to different performance needs․ These transmissions are known for their strength and versatility, making them popular among enthusiasts for restorations and upgrades․ The design emphasizes durability and simplicity, ensuring long-term reliability with proper maintenance․
Transmission Ratios and Performance Capabilities
The Chevrolet 4-speed manual transmission offers a range of gear ratios to suit various driving needs․ The M20 provides wide ratios, ideal for everyday driving, while the M21 offers closer ratios for enhanced performance․ The M22, known as the “Rock Crusher,” features heavy-duty close ratios, making it perfect for racing and high-torque applications․ The SM465 model includes a low 6․55:1 first gear and a direct 1:1 fourth gear, offering exceptional low-speed crawling and high-speed cruising capabilities․ These ratios ensure optimal performance across different scenarios, from off-road adventures to track racing․

The Muncie 4-Speed Transmission: A Detailed Analysis
The Muncie 4-speed transmission, built by General Motors from 1968 to 1991, features a robust cast-iron case and top-loading design, ensuring durability and strength for heavy-duty applications․
Muncie M20, M21, and M22 Variants: Differences and Applications
The Muncie M20, M21, and M22 are distinct variants of the 4-speed manual transmission, each tailored for specific applications․ The M20 is a wide-ratio transmission, ideal for everyday driving and light-duty trucks, while the M21 features a close-ratio design, enhancing performance in racing and high RPM scenarios․ The M22, known as the “Rock Crusher,” is a heavy-duty close-ratio transmission built for extreme durability and high-stress environments․ Each variant offers unique gearing and strength to suit different driving needs and vehicle types․
Identifying Muncie Transmissions: Codes, Serial Numbers, and Physical Characteristics
Muncie transmissions can be identified through specific codes, serial numbers, and physical features․ Early models (1964-1968) have shift arms attached via a stud and nut, while 1969 and later models use a bolt․ Side covers on early units feature a stud, while later versions have a hole․ The transmission’s serial number and RPO codes (M20, M21, M22) indicate the variant․ Physical characteristics, such as the wide or narrow ratio design, further distinguish these transmissions, aiding in accurate identification for restoration or replacement purposes․
Applications Across Chevrolet Models
The Chevrolet 4-speed manual transmission was widely used in trucks, SUVs, and performance-oriented cars like the Camaro and Corvette, offering durability and precise control across various models․
Chevrolet Trucks and SUVs Equipped with the 4-Speed Manual Transmission
Chevrolet’s 4-speed manual transmission was widely used in trucks and SUVs, including the iconic SM465, known for its durability and versatility in heavy-duty applications․ The SM465, produced from 1968 to 1991, featured a top-loading design and a robust cast-iron case, making it ideal for both on-road and off-road use․ Muncie 4-speed transmissions, such as the M20, M21, and M22, were also popular in Chevrolet trucks and SUVs, offering strength and reliability for demanding tasks․
Performance-Oriented Chevrolet Cars with the 4-Speed Option
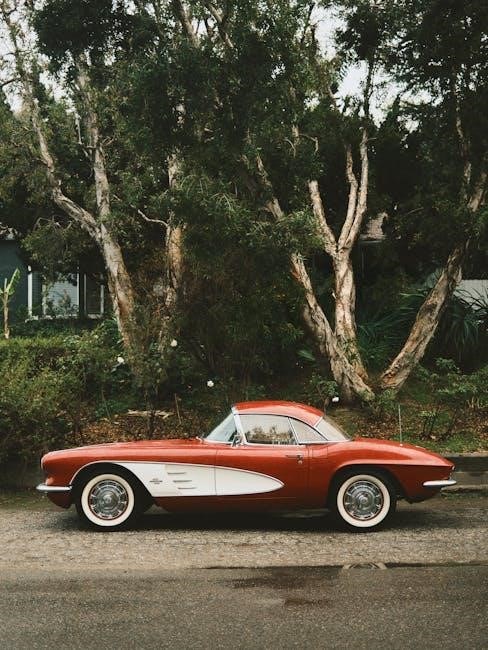
Chevrolet’s 4-speed manual transmission was a hallmark in performance cars like the Corvette and Camaro․ In 1977, only 2,060 Corvettes were equipped with a 4-speed, making them rare collectibles․ The Muncie M20, M21, and M22 variants provided close-ratio gearing, enhancing acceleration and driver control․ These transmissions were integral to Chevrolet’s racing heritage, offering precise shifting and durability for high-performance driving experiences, making them sought after by enthusiasts and collectors of classic Chevrolet muscle cars․

Performance and Durability
The Chevrolet 4-speed manual transmission is renowned for its durability and reliability, offering robust performance in both heavy-duty trucks and high-performance vehicles, and easy maintenance․
Strengths and Weaknesses of the Chevrolet 4-Speed Manual Transmission
The Chevrolet 4-speed manual transmission is celebrated for its durability and strength, especially in heavy-duty applications, with a reputation for withstanding rigorous use․ Its wide availability and plentiful replacement parts make maintenance cost-effective․ However, its wide transmission case and limited gear ratios can be drawbacks in certain performance scenarios, and the SM465’s low first gear may not suit all driving conditions․ Despite this, its reliability and ease of repair solidify its legacy as a trusted manual gearbox․
Popular Modifications and Upgrades for Enhanced Performance
Enthusiasts often modify the Chevrolet 4-speed manual transmission to enhance its performance․ Common upgrades include swapping gear ratios for better acceleration or top speed, installing lightweight flywheels, and upgrading to high-performance clutches․ Strengthening the internal components, such as bearings and seals, can also improve durability under heavy use․ Additionally, aftermarket short-throw shifters are popular for quicker, more precise shifting․ For racing applications, enthusiasts may opt for the Muncie M22 variant, known for its close-ratio gears and heavy-duty construction․
Maintenance and Repair Tips
Regular fluid checks, gasket inspections, and synchronizer replacements are essential․ Lubricate bearings and inspect gear teeth for wear to ensure smooth operation and longevity․
Common Issues and Solutions for the Chevrolet 4-Speed Manual Transmission
Common issues include worn synchronizers, causing gear grinding, and leaks from the transmission pan gasket․ Replacing worn parts and sealing gaskets can resolve these problems․ Regular lubrication of bearings and inspecting gear teeth for wear are crucial for smooth operation․ Addressing these issues promptly ensures longevity and optimal performance of the transmission․ Replacement parts are readily available, making maintenance cost-effective and straightforward․
Parts Availability and Cost-Effective Maintenance Strategies
Parts for the Chevrolet 4-speed manual transmission are widely available due to its long production run and popularity․ Many aftermarket suppliers offer affordable components, making repairs and maintenance cost-effective․ Refurbished units and DIY repair kits are common, reducing expenses․ Regular fluid changes and inspections can prevent major issues․ Purchasing from reputable sources ensures quality and compatibility, while community forums and specialized shops provide valuable resources for owners seeking to maintain or restore their transmissions efficiently․
Collectibility and Market Value
Chevrolet 4-speed manual transmissions, particularly the Muncie and SM465 variants, are highly sought after by collectors and enthusiasts due to their durability and nostalgic appeal․ Rare models, such as the 1977 Corvette with a 4-speed, command premium prices․ The market demand for these transmissions remains strong, with restored units appreciating in value․ Their historical significance and versatility across Chevrolet’s lineup make them a valuable addition to classic car restorations and performance builds․
Rarity and Demand for Chevrolet Vehicles with 4-Speed Manual Transmission
Chevrolet vehicles equipped with the 4-speed manual transmission, such as the 1977 Corvette, are highly rare, with only 2,060 units produced․ The Muncie M22 heavy-duty variant is particularly sought after by collectors and restorers․ Demand remains strong due to their historical significance, durability, and nostalgic appeal․ Rare transmissions like the SM465, known for its low gear ratio, are prized by off-road enthusiasts․ As modern cars shift toward automatics, these manual transmissions gain value, making them a coveted find for classic car enthusiasts and performance builders․
Restoration and Value Appreciation of Classic Chevrolet Transmissions
Restoring classic Chevrolet 4-speed manual transmissions, like the Muncie M22, has become a popular endeavor among enthusiasts․ These transmissions, known for their durability, are sought after for both classic car restorations and performance upgrades․ As rare components, they appreciate in value over time, especially when meticulously rebuilt to original specifications․ Collectors and restorers often prioritize these transmissions due to their historical significance and the growing demand for vintage automotive components, making them a valuable investment for classic car enthusiasts․
The Chevrolet 4-speed manual transmission, like the Muncie, remains a sought-after component for collectors and restorers, blending durability with nostalgic appeal․ While modern automatics dominate, manual transmissions retain a niche following, ensuring the legacy of these iconic gearboxes endures in classic car culture and performance enthusiasts’ projects․
The Legacy of the Chevrolet 4-Speed Manual Transmission
The Chevrolet 4-speed manual transmission, particularly the Muncie, holds a revered place in automotive history․ Known for its durability and versatility, it equipped iconic models like the Camaro and Corvette, becoming synonymous with performance and driver engagement․ Enthusiasts and restorers continue to seek these transmissions, celebrating their mechanical simplicity and nostalgic appeal․ The Muncie’s strength and wide range of applications solidified its status as a cornerstone of Chevrolet’s heritage, enduring beyond its production era․
Modern Alternatives and the Future of Manual Transmissions in Chevrolet Vehicles
While the Chevrolet 4-speed manual transmission remains iconic, modern Chevrolet vehicles have transitioned to more advanced manual options like the 6-speed and 8-speed units․ These newer transmissions offer improved performance, fuel efficiency, and smoother shifting․ The Muncie’s legacy lives on in enthusiast communities, but Chevrolet now focuses on pairing contemporary engines with updated manual gearboxes․ The future may see manual transmissions in hybrid or electric powertrains, blending tradition with innovation to meet evolving driver demands and technological advancements․