manual actuator
Manual actuators are devices that control mechanical systems through human intervention, offering simplicity and reliability in various applications, from industrial automation to automotive systems, ensuring precise operation and durability.

What is a Manual Actuator?
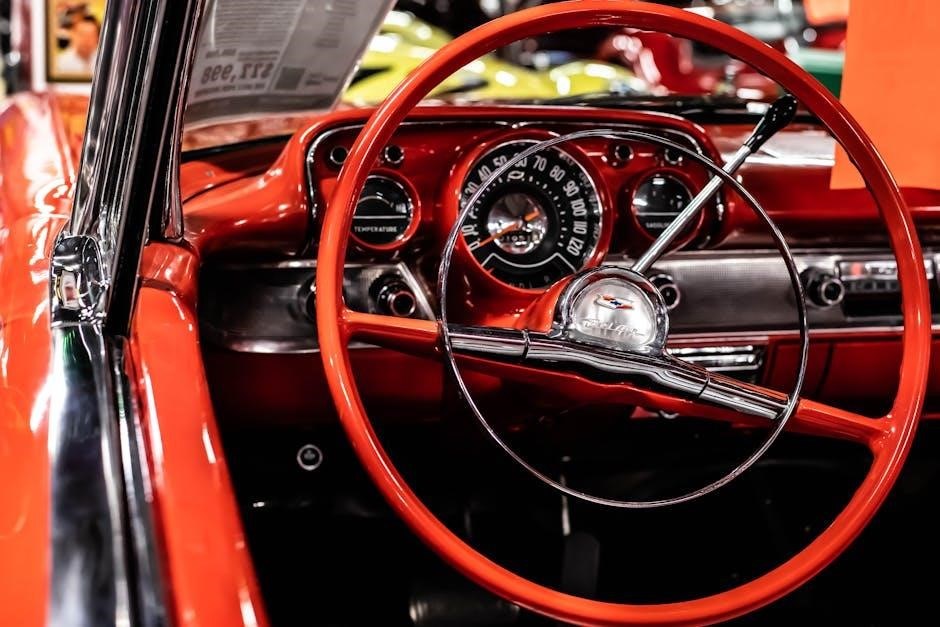
A manual actuator is a mechanical device that relies on human input to control or operate a system or mechanism. It typically involves physical effort, such as turning a handle or pressing a button, to initiate movement or action. These devices are commonly used in automotive systems, industrial machinery, and HVAC controls. For example, a manual actuator might control a fuel filler lock or adjust door blend actuators in vehicles. They are designed for simplicity and direct operation, making them a practical solution in various applications.
Types of Manual Actuators
Manual actuators are categorized into linear, rotary, hydraulic, and pneumatic types, each designed for specific applications requiring precise control through mechanical or fluid-based operation.
1.1 Linear Manual Actuators
Linear manual actuators are designed to produce motion in a straight line, typically used in industrial automation and automotive systems; They operate via a piston and cylinder mechanism, providing precise control over valves, dampers, and other components. These actuators are cost-effective, reliable, and require minimal maintenance, making them ideal for applications where simplicity and durability are essential. Their straightforward design ensures consistent performance in various environments, offering a practical solution for linear motion requirements.
1.2 Rotary Manual Actuators

Rotary manual actuators convert linear motion into rotational motion, commonly used in valve operation and gear systems. They often feature a hand wheel or lever for manual control, providing precise angular movement. These actuators are widely used in industrial automation and HVAC systems, offering simplicity and reliability. Their robust design ensures long-term durability, making them ideal for applications requiring consistent rotational control. However, they may lack the precision and speed of automated alternatives, relying on human input for operation.
1.3 Hydraulic Manual Actuators
Hydraulic manual actuators utilize fluid pressure to generate motion, offering high force capabilities with minimal effort. They are commonly used in heavy-duty applications, such as industrial machinery and aerospace systems. These actuators provide smooth and precise control, making them ideal for tasks requiring significant power. Their design often includes a hand-operated pump or valve, allowing users to regulate fluid flow and achieve the desired motion. Hydraulic manual actuators are durable and reliable, but they may require regular maintenance to ensure optimal performance and prevent fluid leakage.
1.4 Pneumatic Manual Actuators
Pneumatic manual actuators operate using compressed air, providing a cost-effective and reliable solution for controlling mechanical systems. They are widely used in industrial automation and automotive systems due to their simplicity and ease of use. These actuators rely on manual input to regulate air flow, which then drives the mechanism. Pneumatic actuators are ideal for applications requiring precise control and are often employed in environments where cleanliness is a priority, as they do not involve hydraulic fluids.

Working Principle of Manual Actuators
Manual actuators convert human effort into mechanical motion through levers, buttons, or other interfaces, enabling precise control of valves, doors, or other mechanisms reliably and simply.
2.1 Mechanical Operation
Manual actuators operate mechanically by converting human input, such as turning a handle or pressing a button, into mechanical movement. This operation relies on levers, gears, or cams to transmit force and motion. The simplicity of mechanical systems ensures reliability and minimal maintenance. Users can directly control valves, gears, or other mechanisms with precise manual intervention. This method is ideal for applications requiring straightforward, low-cost solutions without the need for external power sources or complex controls.
2.2 Hydraulic Operation
Manual actuators employing hydraulic operation use pressurized fluid to generate motion or force. A user applies manual input, such as pressing a button or moving a lever, which activates the hydraulic mechanism. This system is advantageous in applications requiring significant force, as it amplifies the applied effort. Hydraulic manual actuators are commonly found in heavy machinery and industrial valves, offering precise control and reliability. The use of fluid pressure ensures smooth operation and consistent performance, making them ideal for tasks demanding substantial power output.
2.3 Pneumatic Operation

Applications of Manual Actuators
Manual actuators are widely used in industrial automation, aerospace engineering, automotive systems, and HVAC applications, providing reliable control for valves, dampers, and mechanical components in various industries.
3.1 Industrial Automation
In industrial automation, manual actuators are crucial for controlling valves, dampers, and mechanical components. They provide precise operation in manufacturing processes, ensuring efficient workflow and system reliability. These devices are often used in harsh environments, offering durability and simplicity. Their application ranges from controlling fluid flow to adjusting mechanical positions, making them essential for maintaining operational consistency in automated systems; Manual actuators are preferred for their ease of use and minimal maintenance requirements in industrial settings.
3.2 Aerospace Engineering
In aerospace engineering, manual actuators play a vital role in controlling systems that require precise mechanical movements. They are used in landing gear, flaps, and fuel systems, ensuring reliability under extreme conditions. These actuators are designed to withstand the stresses of flight, including high pressures and temperatures. Their simplicity and durability make them ideal for critical applications where human intervention is necessary. Manual actuators contribute significantly to the safety and performance of aircraft, providing a dependable solution for essential functions.
3.3 Automotive Systems
Manual actuators are widely used in automotive systems to control mechanisms such as windows, seats, and fuel systems. They provide a reliable and cost-effective solution for drivers, offering precise control over various vehicle functions. In some cases, manual actuators are preferred for their simplicity and ease of maintenance. For example, they are often used in door locks and gearshift systems. Despite advancements in automation, manual actuators remain essential for certain applications, ensuring durability and performance in everyday vehicle operation.
3.4 HVAC Systems
Manual actuators are essential in HVAC systems for controlling components like dampers, valves, and vents. They ensure precise airflow regulation and temperature control, enhancing energy efficiency. In systems requiring manual overrides, these actuators provide reliable operation. For instance, in automotive HVAC systems, manual actuators adjust airflow direction and temperature settings. Despite advancements in automation, manual actuators remain vital for their simplicity and ease of use, ensuring consistent performance in maintaining comfortable environments across various applications.

Advantages of Manual Actuators
Manual actuators offer simplicity, cost-effectiveness, and reliability, requiring minimal maintenance. Their straightforward design ensures consistent performance, making them ideal for applications where automation is unnecessary or impractical.
4.1 Simplicity in Design
Manual actuators are designed with minimal complexity, reducing the likelihood of mechanical failure. Their straightforward construction ensures ease of operation and maintenance. Without advanced automation components, they rely on basic mechanisms, making them user-friendly and cost-effective. This simplicity also translates to easier troubleshooting and repair, as fewer parts mean less can go wrong. Their uncomplicated nature makes them a preferred choice for applications where reliability and ease of use are prioritized over automated functionality.
4.2 Cost-Effectiveness
Manual actuators are a cost-effective solution due to their lower purchase cost compared to automated alternatives. They require minimal maintenance, reducing long-term expenses. With fewer components, there’s less risk of mechanical failure, leading to lower repair costs. Their durability and simplicity contribute to extended operational life, making them a budget-friendly choice for applications prioritizing cost-efficiency and straightforward functionality.
4.3 Reliability
Manual actuators are known for their high reliability due to their straightforward design, minimizing the risk of mechanical failure. With fewer moving parts, they are less prone to wear and tear. Their simplicity ensures consistent performance, making them a dependable choice for applications requiring stable operation. Additionally, manual actuators are less likely to be affected by power outages or electronic malfunctions, providing a trustworthy solution in critical systems where downtime must be avoided. Their durability further enhances their reliability, ensuring long-term functionality without frequent replacements.
Manual actuators require minimal maintenance due to their simple mechanical design, reducing the need for frequent servicing. With fewer components, there’s less chance of parts malfunctioning, lowering overall upkeep costs. Cleaning and lubrication are the primary maintenance tasks, ensuring smooth operation over time; Their durability and resistance to wear further minimize the need for repairs or replacements, making them a cost-effective solution for systems where maintenance accessibility is limited. This low maintenance requirement enhances their practicality in various industrial and mechanical applications. Manual actuators have limitations, including limited precision, slow operation, and reliance on human intervention, making them less suitable for applications requiring high speed, accuracy, or automated control systems. Manual actuators often lack the precision required for tasks needing high accuracy. Human operation introduces variability, making them less suitable for applications requiring exact control or positioning. Unlike automated systems, manual actuators rely on user input, which can lead to inconsistencies. Additionally, mechanical limitations may restrict their ability to perform fine adjustments, further reducing their precision. This makes them less ideal for environments where exact measurements or repeatability are critical, such as in advanced manufacturing or sensitive engineering systems. Manual actuators operate at a slower pace due to their reliance on human input, making them less efficient in applications requiring rapid responses. This limitation arises from the need for physical interaction, which introduces delays compared to automated systems. In industrial or dynamic environments, this slow operation can hinder productivity and responsiveness. For instance, in automotive systems, manual actuators may struggle to keep up with the demands of real-time adjustments, leading to potential performance issues or delays in system responses. Manual actuators require continuous human involvement, which can lead to delays and dependency on operator availability. This reliance on human intervention makes them less suitable for automated or remote systems. For example, in automotive systems, manual actuators may require physical adjustments, causing inconvenience and potential delays. Additionally, human error can introduce variability in operation, affecting consistency and reliability. This limitation highlights the need for careful consideration in applications where rapid or autonomous responses are critical. Manual actuators often have limited load capacity, making them unsuitable for heavy-duty applications. Their operation relies on human or mechanical force, which can be insufficient for large-scale systems. For instance, in automotive systems, manual actuators may struggle with heavy loads, leading to wear and tear or failure. This limitation necessitates the use of motors or hydraulic systems for tasks requiring higher force. Understanding load capacity is crucial for selecting the right actuator for specific applications to ensure efficiency and reliability. Proper installation and regular maintenance are crucial for manual actuators to ensure optimal performance. Always follow guidelines, inspect components, and lubricate moving parts to prevent issues. Mount the manual actuator securely, ensuring proper alignment with the valve or mechanism it controls. Tighten all fasteners firmly to prevent vibration issues. Connect power sources and control systems carefully, following manufacturer instructions. Ensure the actuator is compatible with the operating environment, considering factors like temperature and humidity. Test the actuator after installation to confirm smooth operation. Avoid common mistakes, such as incorrect wiring or insufficient lubrication, to maintain reliability and performance over time. Regularly inspect manual actuators for wear and tear, ensuring all moving parts are well-lubricated to prevent friction and corrosion. Clean the actuator’s surface to avoid debris buildup, which could hinder performance. Check electrical connections for tightness and integrity, addressing any signs of wear or damage promptly. Schedule periodic testing to ensure smooth operation and adjust components as needed. Proper maintenance extends the lifespan and reliability of manual actuators, reducing the risk of unexpected failures in critical applications. Identify issues like stuck or faulty actuators by checking for wear or corrosion. Inspect electrical connections for loose wires or damage. Clean debris from moving parts and ensure proper lubrication. For mechanical failures, replace worn components promptly. Address transmission issues by checking actuator alignment and fluid levels. Test systems after repairs to confirm functionality. Regular troubleshooting prevents unexpected breakdowns and ensures smooth operation in industrial, automotive, or HVAC applications. Always refer to the manufacturer’s guidelines for specific repair instructions. Manual actuators are versatile, reliable components essential in various industrial and mechanical systems. Their simplicity, cost-effectiveness, and durability make them a preferred choice for applications requiring precise control. While they offer significant advantages, limitations like limited precision and load capacity should be considered. Proper installation, maintenance, and troubleshooting ensure optimal performance. By understanding their operation and applications, manual actuators continue to play a vital role in enhancing system efficiency and functionality across diverse industries.4.4 Low Maintenance

Disadvantages of Manual Actuators
5.1 Limited Precision
5.2 Slow Operation
5.3 Human Intervention
5.4 Limited Load Capacity

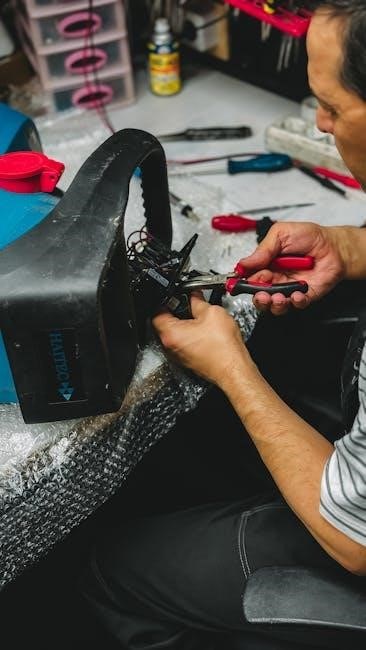
Installation and Maintenance

6.1 Installation Guidelines
6.2 Maintenance Tips
6.3 Troubleshooting Common Issues