peg bag pattern pdf free
A peg bag is a practical and stylish storage solution for clothespins‚ perfect for outdoor use. Patterns are available for free online‚ offering easy-to-follow guides for sewers of all skill levels. Many designs feature customizable options‚ allowing users to choose fabrics and decorative elements to suit their preferences. These patterns are ideal for beginners‚ providing a fun and rewarding DIY project that can be completed quickly. By making your own peg bag‚ you can add a personal touch to your laundry routine while keeping your clothespins organized and within reach. With step-by-step instructions and downloadable PDFs‚ creating a peg bag has never been easier or more enjoyable.
What is a Peg Bag?
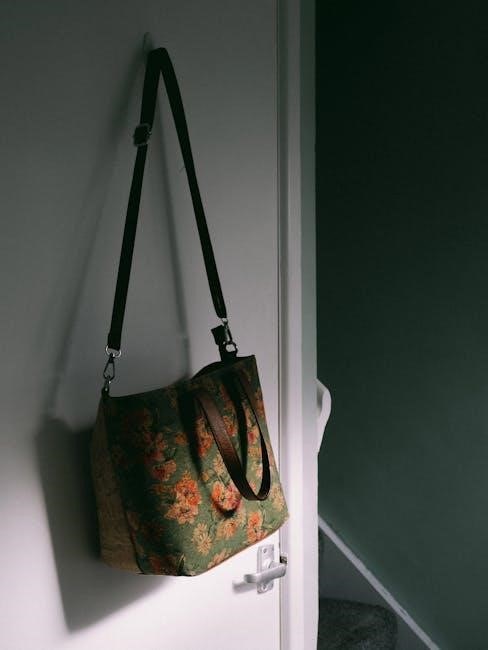
A peg bag is a fabric pouch designed to hold clothespins‚ ideal for outdoor laundry. Typically made from durable materials like cotton or laminated fabric‚ it features a simple design with an open top for easy access. Peg bags are practical‚ customizable‚ and can be upcycled from old fabrics. Many free PDF patterns are available online‚ offering step-by-step guides for DIY enthusiasts. They are perfect for keeping clothespins organized and within reach‚ adding a touch of style to your laundry routine.
Why Use a Peg Bag Pattern?
Using a peg bag pattern offers a practical and creative way to organize clothespins. Free downloadable PDFs provide easy-to-follow guides‚ making sewing accessible for all skill levels. Customize the design with your favorite fabrics or upcycle old materials for a sustainable option. Patterns often include step-by-step instructions‚ ensuring a stress-free sewing experience. A peg bag is not only functional but also adds a decorative touch to your laundry routine‚ making it a thoughtful handmade gift or personal project.

Materials Needed for a Peg Bag
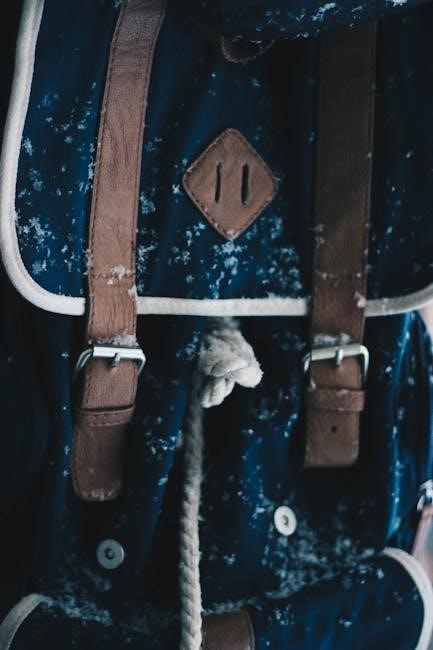
Fabric (laminated or regular)‚ interfacing‚ bias binding‚ Velcro‚ and fusible fleece or batting are essential materials for creating a durable and functional peg bag.
Fabric Requirements
For a peg bag‚ you’ll need approximately 0.25 meters (1/4 yard) of fabric‚ with a width of 54-56 cm (21 1/4-22 inches). Laminated fabric is ideal for durability‚ but regular fabric also works. Consider upcycling old materials like shirts or denim for an eco-friendly option. Choose a fabric that suits your style‚ ensuring it’s sturdy enough to hold clothespins securely. The fabric width should accommodate the pattern pieces comfortably‚ allowing for a functional and attractive design.
Additional Materials (Interfacing‚ Bias Binding‚ etc.)
Besides fabric‚ you’ll need interfacing or fusible fleece for stability and structure. Bias binding is recommended for finishing the edges neatly. Some patterns also suggest using Velcro for closure. These materials ensure your peg bag is durable and visually appealing. Interfacing helps maintain shape‚ while bias binding adds a professional finish. Optional decorative elements like embroidery or appliqué can also enhance the design. Ensure all materials are compatible with your chosen fabric for the best results.
Step-by-Step Guide to Sewing a Peg Bag

Sewing a peg bag involves tracing a hanger‚ cutting fabric‚ and assembling the pieces. Follow the pattern’s instructions for precise measurements and sewing with straight stitches. Ensure seams are aligned and secure. Add any closures or decorative elements as instructed. This straightforward process ensures a functional and attractive peg bag for your laundry needs.
Downloading and Printing the PDF Pattern
Begin by downloading the free peg bag PDF pattern from trusted sources like Sewing-Sanctuary or Etsy. Ensure your printer settings match the pattern’s requirements for accurate scaling. Print the pattern on standard paper or cardstock for durability. Some patterns include video instructions for guidance. Once printed‚ carefully cut out the template pieces‚ ensuring all markings and labels are clear. This step is crucial for achieving the correct shape and size of your peg bag. Many patterns are designed for beginners‚ offering a seamless experience from download to assembly.
Cutting Out the Fabric Pieces
Begin by laying your fabric flat and placing the printed PDF pattern pieces on top. Align the grain lines with the fabric’s selvage to ensure proper alignment. Use pins to secure the pattern to the fabric‚ then carefully cut along the outlined edges with sharp scissors or a rotary cutter. Transfer all notches and markings to the fabric for accurate assembly later. Cut two main pieces for the front and back of the bag‚ along with any additional components like straps or pockets. Ensure all pieces are cut precisely to match the pattern’s specifications for a professional finish.
Assembling the Bag
Place the fabric pieces right sides together and align the edges carefully. Sew along the sides and bottom‚ leaving the top open for turning. Use a 1/4-inch seam allowance and backstitch at the beginning and end for durability. Turn the bag right side out and press the seams with an iron. Fold the top edge over twice to create a casing for the drawstring or attach Velcro for closure. Insert a sturdy wire or coat hanger top to maintain shape and allow easy access to clothespins.
Customization Ideas
Customize your peg bag with vibrant fabrics‚ decorative elements like pockets or embroidery‚ and functional additions such as Velcro or additional compartments for enhanced organization.
Choosing the Right Fabric
Selecting the right fabric for your peg bag is crucial for both functionality and style. Opt for durable‚ water-resistant materials like laminated cotton or vinyl for longevity. Alternatively‚ upcycle old shirts or denim for an eco-friendly option. Lightweight fabrics such as muslin or quilting cotton are also ideal‚ offering ease of use while maintaining a stylish appearance. Choose patterns or colors that match your home decor or personal preferences to make your peg bag uniquely yours.
Adding Decorative Elements
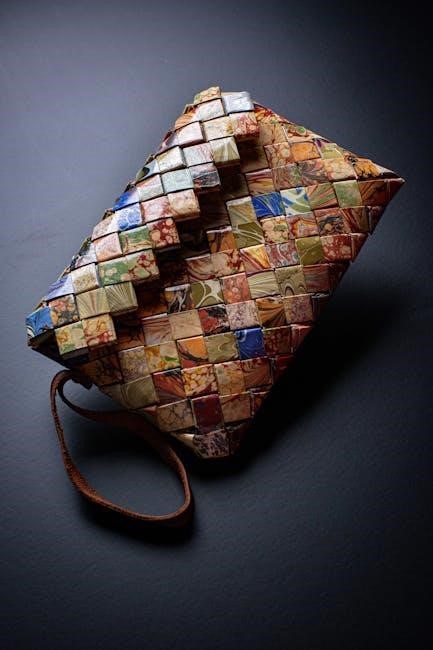
Enhance your peg bag with decorative elements like embroidery‚ appliques‚ or ribbons for a personalized touch. Adding buttons or contrasting stitching can also elevate its design. Consider using fabric paint or iron-on transfers for unique patterns. Bias binding in complementary colors can add a stylish finish. For a rustic look‚ incorporate lace or crocheted trim. These details make your peg bag stand out and reflect your personal style‚ turning it into a charming and functional piece.
Benefits of Making Your Own Peg Bag
Creating a peg bag is eco-friendly‚ cost-effective‚ and allows for personalization. It’s a fun DIY project that offers a sense of accomplishment and practical utility.
Eco-Friendly and Cost-Effective
Making your own peg bag is an eco-friendly choice‚ as it reduces the need for single-use products and allows you to upcycle leftover fabrics. It’s also cost-effective‚ saving money on store-bought options. By using materials you already have‚ you minimize waste and create a durable‚ long-lasting item. This DIY project promotes sustainability and resourcefulness‚ making it a practical and environmentally conscious solution for organizing clothespins. It’s a small but impactful way to contribute to a greener lifestyle.
Personalization Options
With a free peg bag pattern‚ you can personalize your project to suit your style. Choose fabrics that match your home décor or favorite colors for a unique look. Add decorative elements like embroidery‚ appliques‚ or ribbons to give it a personal touch. Upcycle old clothes or fabric scraps to create an eco-friendly and meaningful design. This customization allows you to tailor the bag to your needs‚ making it both functional and visually appealing. Personalization options make every peg bag one-of-a-kind and special.
Where to Find Free Peg Bag Patterns
Free peg bag patterns are readily available online. Websites like Pinterest and Etsy offer various designs‚ while sewing blogs and communities share downloadable PDFs. Many creators provide free patterns with tutorials‚ making it easy to find one that suits your skill level and style.
Popular Websites and Resources
Popular websites for free peg bag patterns include Pinterest‚ Etsy‚ and sewing blogs. Pinterest offers a variety of inspirational designs and tutorials‚ while Etsy provides downloadable PDF patterns from independent creators. Sewing communities and blogs‚ such as Sewing Sanctuary‚ often share free patterns with step-by-step guides. Additionally‚ platforms like YouTube host video tutorials to accompany free downloadable patterns. These resources make it easy to find and create your perfect peg bag.
Downloading and Using PDF Patterns
Downloading a free peg bag PDF pattern is straightforward‚ with many websites offering instant access. Ensure your printer is set to “actual size” for accurate scaling. Most patterns include a test page to confirm sizing before printing the full design. Once downloaded‚ follow the included instructions to cut and assemble the fabric. Many patterns also offer video tutorials or guides for clarity. Always check the designer’s notes for specific tips or requirements to ensure a successful project.
Tips for Beginners
- Start with simple patterns and choose durable fabric.
- Follow the guide step-by-step for best results.
- Watch video tutorials for clarity and ease.
- Take your time and enjoy the creative process!
Understanding the Pattern
Free peg bag patterns often include clear measurements and cutting guides. Ensure you print the PDF at full scale for accuracy. Study the layout and instructions carefully before cutting fabric. Look for markings like darts or notches‚ which help in assembling the bag. Many patterns include diagrams or photos to guide beginners. Familiarize yourself with fabric requirements and any additional materials needed. Understanding the pattern ensures a smooth sewing process and a professional finish;

Common Mistakes to Avoid
Beginners often overlook pre-washing fabric‚ leading to shrinkage issues. Ensure fabric is washed and dried before cutting. Incorrectly aligning pattern pieces can result in asymmetrical bags. Double-check measurements and placements. Forgetting to leave seam allowances is another common error‚ so always add the specified margins. Avoid rushing through steps‚ as this can lead to uneven stitching or misaligned seams. Take your time to ensure each step is accurate for a polished finish.
Creating a peg bag is a simple‚ rewarding project that enhances laundry organization. With free PDF patterns available‚ customization is easy‚ ensuring functionality and style for any home.
Final Thoughts on Sewing a Peg Bag
Sewing a peg bag is a fulfilling DIY project that combines creativity with practicality. It’s a great way to organize your clothespins while adding a personal touch to your laundry routine. With free PDF patterns readily available‚ you can choose designs that suit your style and skill level. The process is not only eco-friendly but also cost-effective‚ allowing you to upcycle fabrics or use new materials. Whether for personal use or as a thoughtful gift‚ a handmade peg bag is a charming and functional item that brings satisfaction to both the maker and the user. Sharing your finished project with others can inspire them to try their hand at sewing‚ fostering a sense of community and creativity. So‚ grab your fabric‚ download a pattern‚ and enjoy the joy of making something truly useful and beautiful!

Encouragement to Share Your Project
Congratulations on completing your peg bag! Sharing your project inspires others and showcases your creativity. Whether on social media‚ sewing forums‚ or with friends‚ your unique peg bag can motivate others to sew. By sharing‚ you contribute to a supportive community and might discover new ideas for your next project. Don’t hesitate to post your masterpiece and enjoy the positive feedback you’ll receive!